
Homemade Golf Ball Line Marker: DIY Guide
Your golf ball will stand out more on the course and have a stronger feeling of personality if customized. The line marker is one of the most common ways to customize a golf ball from the many available alternatives.
As long as you know the necessary steps, the process is simple. This article will serve as your go-to manual for DIY golf ball customization as we walk you through each step in detail.
You won’t need to seek advice from a specialist before drawing a line marker and adjusting your alignment on the green because it will be an all-inclusive guide.
Overview
Golf ball marking is a prevalent practice among players to identify their golf balls quickly when playing. It’s most beneficial when the players are using similar golf ball brands or patterns.
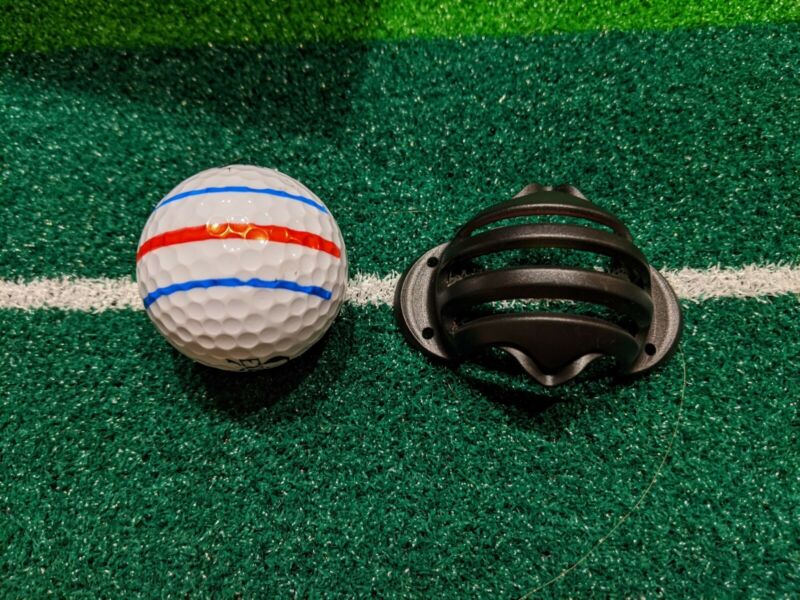
There are different ways of putting markings on golf balls, including a simple straight line, the lone dot, the “T” line, or a personal touch.
Whether you want to create a simple straight line or experiment with unique designs, the essential purpose is to be able to identify the game ball.
Over the years, players have made the simple straight line the staple as it’s quite a bit easier than other ways.
However, you need to ensure your ball stands out from your peers if all of you have chosen the simple line marker design.
Also, it’s worth stating that, in some cases, the line marker helps check performance. When you notice that the line marker on the ball rolls ends over end, it’s a sign you putt the ball effectively. It’s a fantastic way of determining that your putting stroke is flawless.
Even if you’re unsure how to mark a golf ball or what will work for your game, you can still practice your stroke and become a better putter by drawing a line on your ball.
Let’s delve into the simple DIY guide for making golf ball line markers at home.
Materials Needed
It’s necessary to gather the supplies you’ll need for your DIY golf ball line marker before we start. You need the following materials:
- Golf balls: Decide the ones you wish to personalize. For optimal results, start with brand-new or barely worn balls.
- Acetone or rubbing alcohol: Use any of these to eradicate all current logos or markings on the golf balls.
- Cotton pads or cleaning clothes: You’ll use these materials to clean your golf balls before making new marks.
- Fine-tip permanent marker: Choose a premium permanent marker with a fine tip to get precise lines.
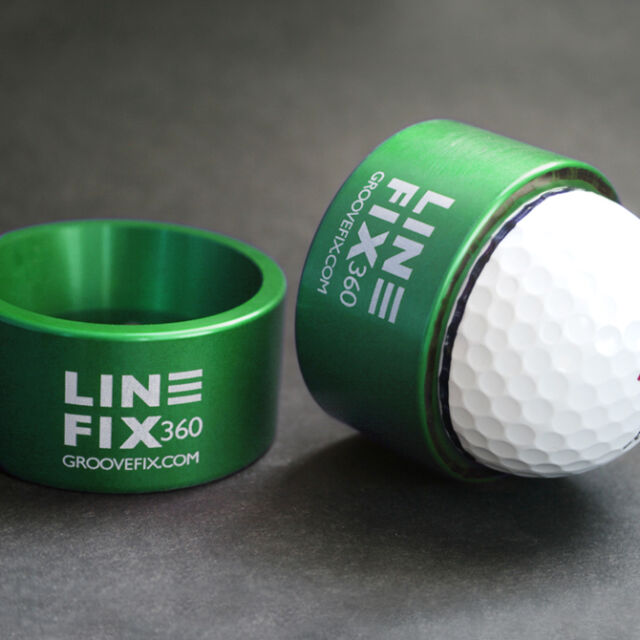
- Template or stencil (optional): A template or stencil can be helpful if you want to make specific designs.
Step-by-Step Guide
Below is the simple process of creating a homemade golf ball line marker:
Prepare the Golf Balls
Use acetone or rubbing alcohol to clean the golf balls thoroughly. To do this, pour a small amount of the rubbing alcohol or acetone on a cleaning cloth or cotton pad and use it to wipe the surface of the golf balls.
If you do this correctly, it will eradicate any dirt, debris, oils, or existing markings that might interfere with your new line design on the ball.
Determine the Line Placement
The next step is to decide what part of the golf ball you want to do the marking. Generally, the ball equator is the most prevalent location people use as it can help with alignment and visualization of the line for putting.
This location is just a recommendation, so you can choose another point or experiment with different placements to find what works for you.
Create the Line
Now use the fine-tip permanent marker to carefully draw a simple straight line on the location you choose on the ball.
Ensure the line is straight and consistent as you move from one point to another. You can achieve a crisp line using small, deliberate strokes and light pressure.
Let the Marker Dry
Once you’re done drawing the line, leave the ball on the spot for some time to allow the maker ink to dry. Ensure the ink is dried entirely before handling the ball so the line remains intact during your golf rounds.
Test the Ball
When you’re sure the marker has dried, you can now take the ball for some practice. Use it in a test spin during practice sessions to enjoy the merits of having a personalized alignment aid.
The distinct line will help you aim your putts more precisely, possibly enhancing your overall putting efficiency.
Final Thoughts
Making your golf ball line markers is an easy and enjoyable way to customize your clubs and improve your alignment on the greens.
You may create distinctive markers that reflect your style and help you putt confidently with only a few simple materials and a little creativity.
If it interests you, you can use templates or stencils to add some originality to your golf ball line marker. These can be used to make various patterns, symbols, or designs that represent your individual taste.
Use the permanent marker to trace the design after placing the template or stencil on the golf ball and lining it up with the existing line.
Enjoy the satisfaction of lining up your putts with precision…
Related Posts:
- Ping Eye 2 Specs: All You Need to Know!
- Is The Troon Card Worth It?
- Diamana ZF vs. Ventus: What’s the Difference?

Want to Get Better at Golf?
Get "Ben Hogan's Five Lessons" and join thousands of others improving their golf skills.
Learn the Fundamentals: Stance and Posture > Golf Grip > The Swing.
This book has LOADS of positive reviews. THOUSANDS OF REVIEWS. A MILLION COPY SOLD. CHEAP!
Get the Book Here